Bondtech LGX® Large Gears Extruder
$175.45 AUD inc GST
Out of stock
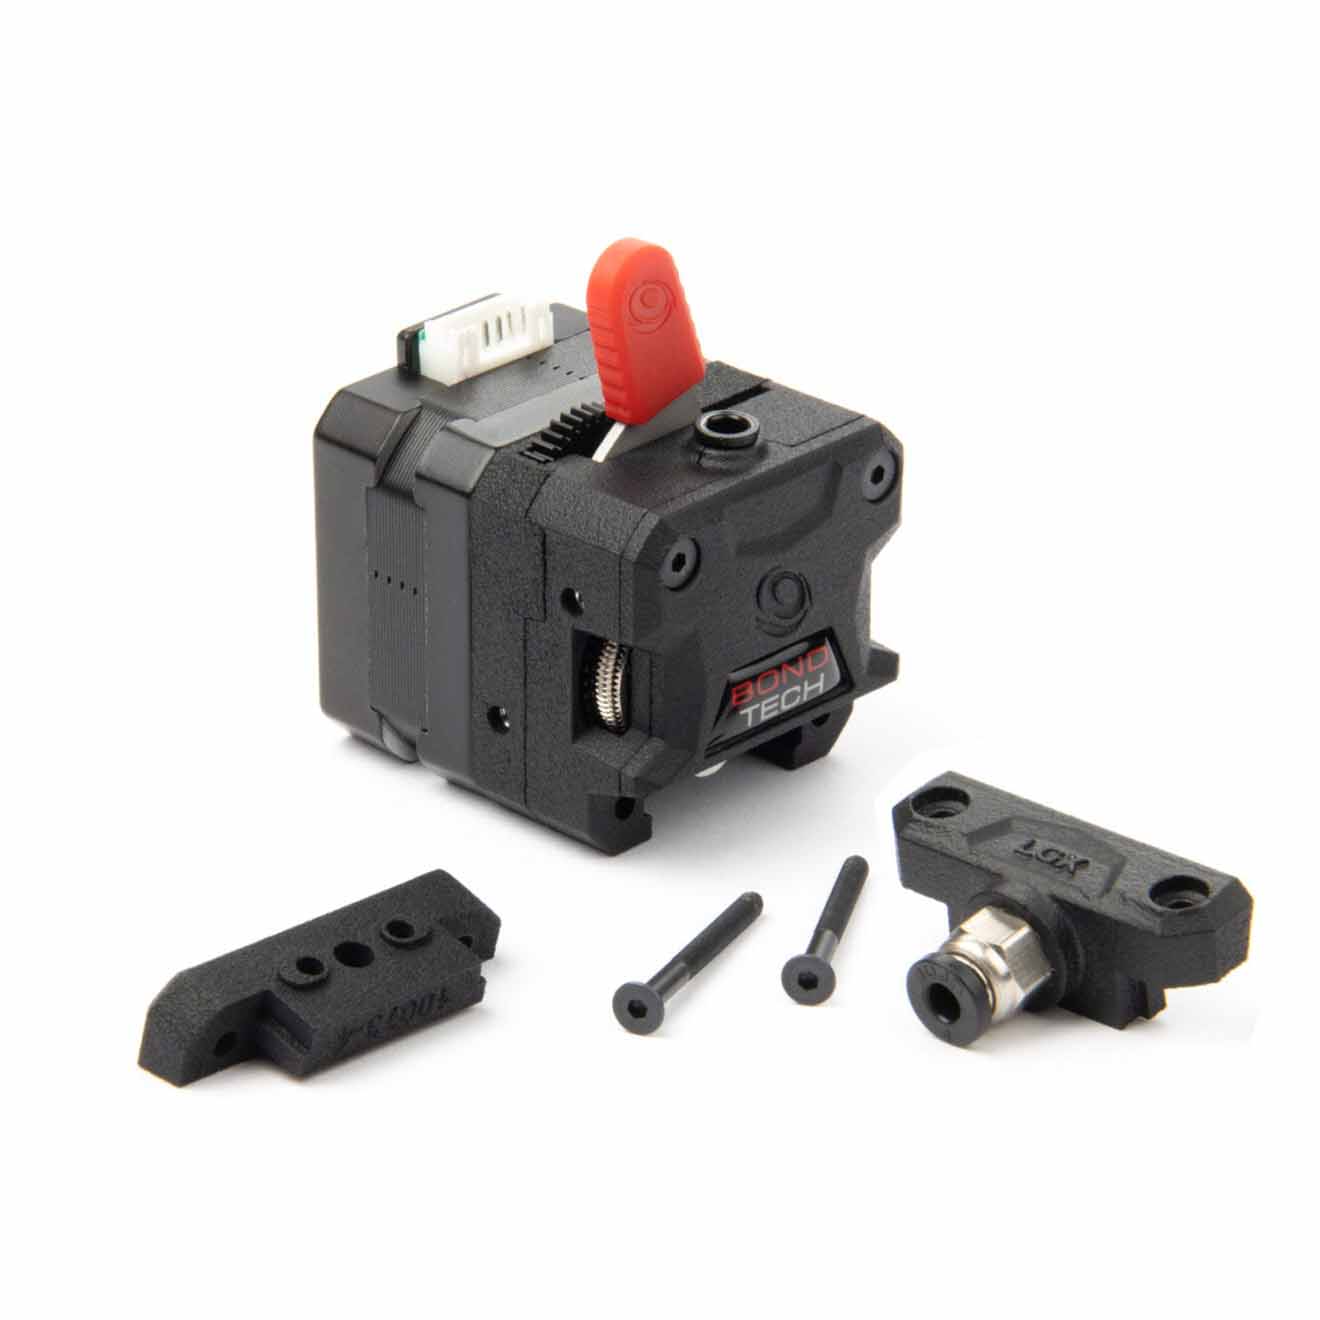
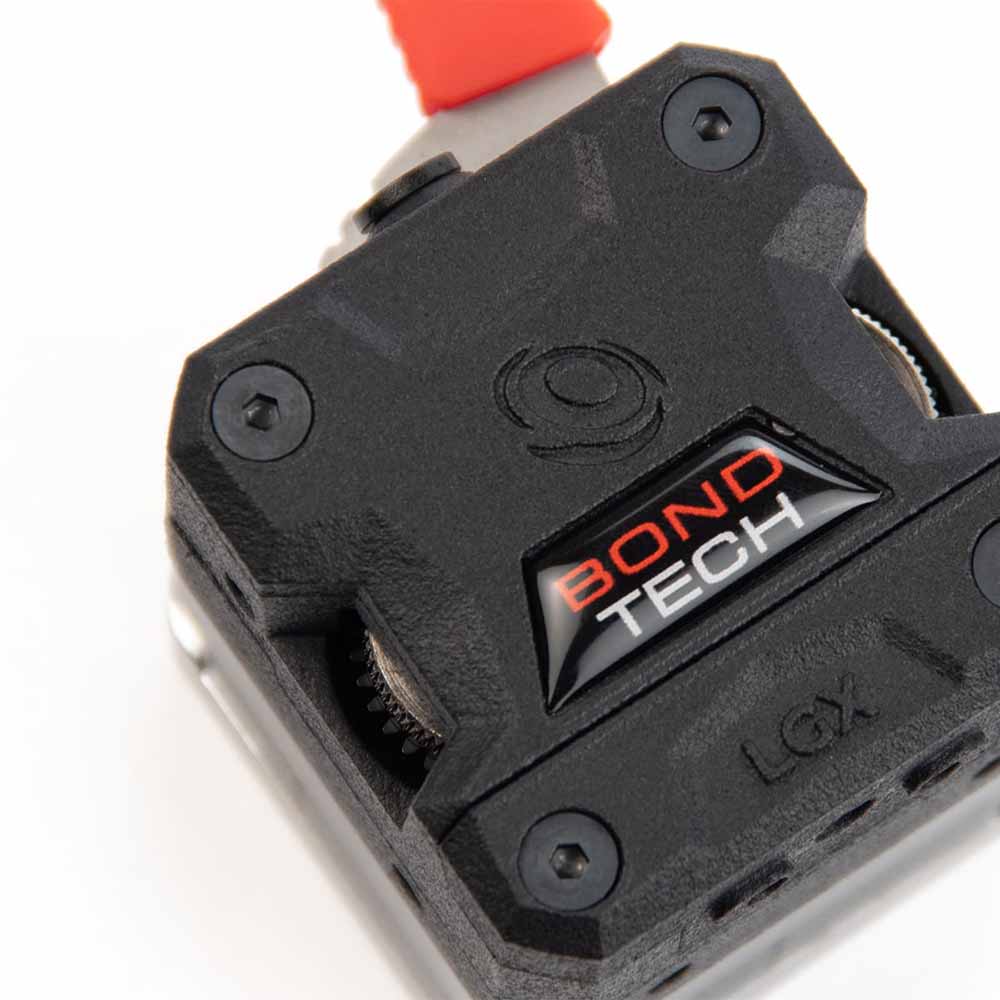
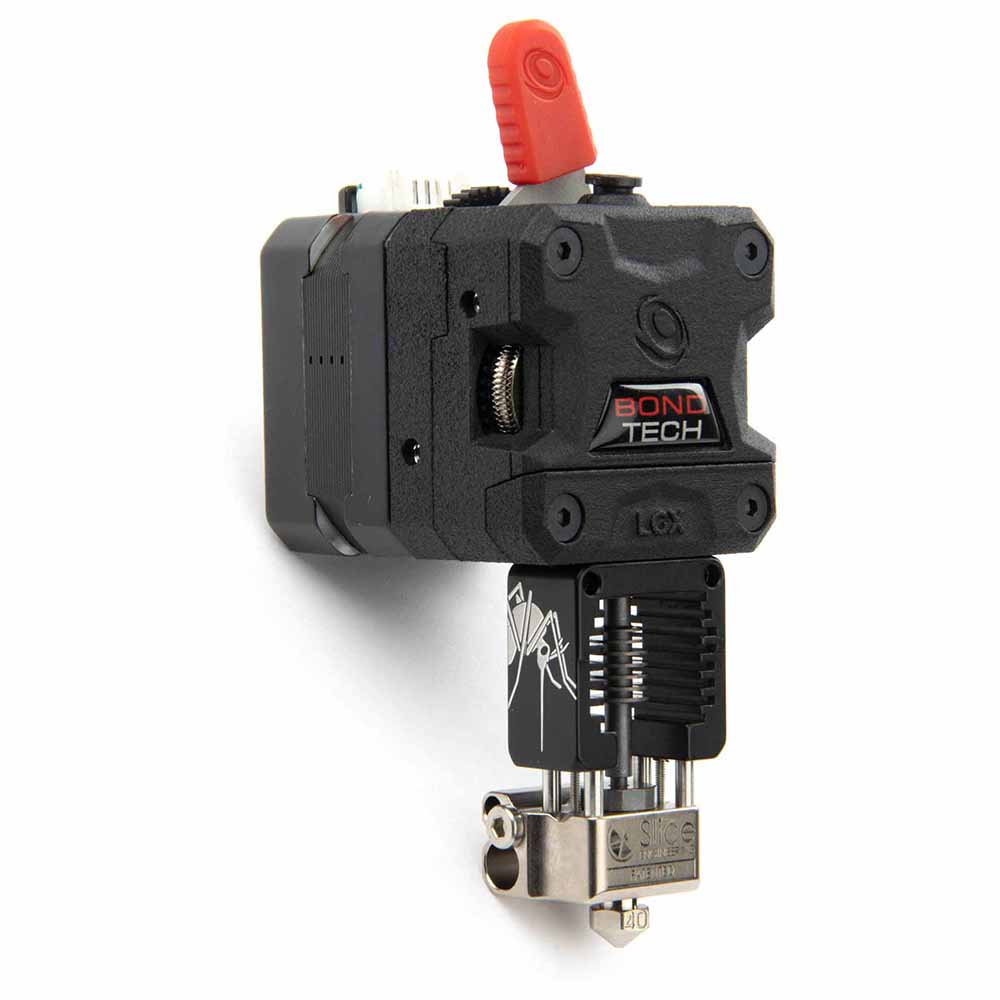
Bondtech’s first dual drive filament feeder using larger drive gears.
Features, multiple mounting options, lightweight and compact package housed in 3D printed PA12 housing with adjustable filament tensioning system.
Out of stock
Notify when stock available
- Description
- Additional information
- Technical Specification
- Addressing A Hot Stepper Motor
- Video Guides
- Reviews (0)
Description
The Bondtech LGX™ Large Gears eXtruder is the first of our filament feeders using Bondtech’s new Dual Drive Technology based on larger drive gears.
7 new features on a Bondtech eXtruder:
- Larger drive wheels, for increased filament grip;
- Filament pre-tension lever, for repeated results;
- Multi-function interface socket, for tool or application quick swap;
- Drive wheels’ maintenance windows, for easy cleaning;
- Compact, light & symmetric design, for increased performance and compatibility;
- Multiple mounting hole patterns, for easy and flexible setup;
- A small step for a greener Future, craft boxes without bleaching & no coating.
You can read more about the new features by clicking here.
Extruder and Stepper Motor go together
Preferably, you should always use the extruder attached to the stepper motor when you mount it on a printer.
If you need to put a plate in between the stepper motor and the extruder please notice that you need longer screws, and the max supported thickness is 3mm.
This image below shows what screws are used on the LGX, and the red ones are used to attach the stepper motor and extruder:

To use a plate in between the stepper motor and the extruder, you need to replace the stock M3x27 low head screws with the 3 M3x30 low head screws we send in the accessories bag, which are compatible with printer plates of thicknesses between 2 and 3mm.
Don’t use a plate in between without using the longer screws.
4 ADDITIONAL MOUNTING POINTS
Use the supplied studs to replace the 4 screws of the stepper motor and use them as additional mounting points.
You can find these studs on the accessories bag in your LGX™ package.
They have a M3 thread with 4 mm depth.

Additional information
| Weight | 0.31 kg |
|---|
Technical Specification
LGX™ EXTRUDER
- e-steps value : 400 using 16 microsteps; 800 using 32 microsteps.
- Drive wheels : hardened steel;
- Materials compatibility : abrasive; rigid; semi-flexible; flexible; and soft.
- Mounting holes : M3
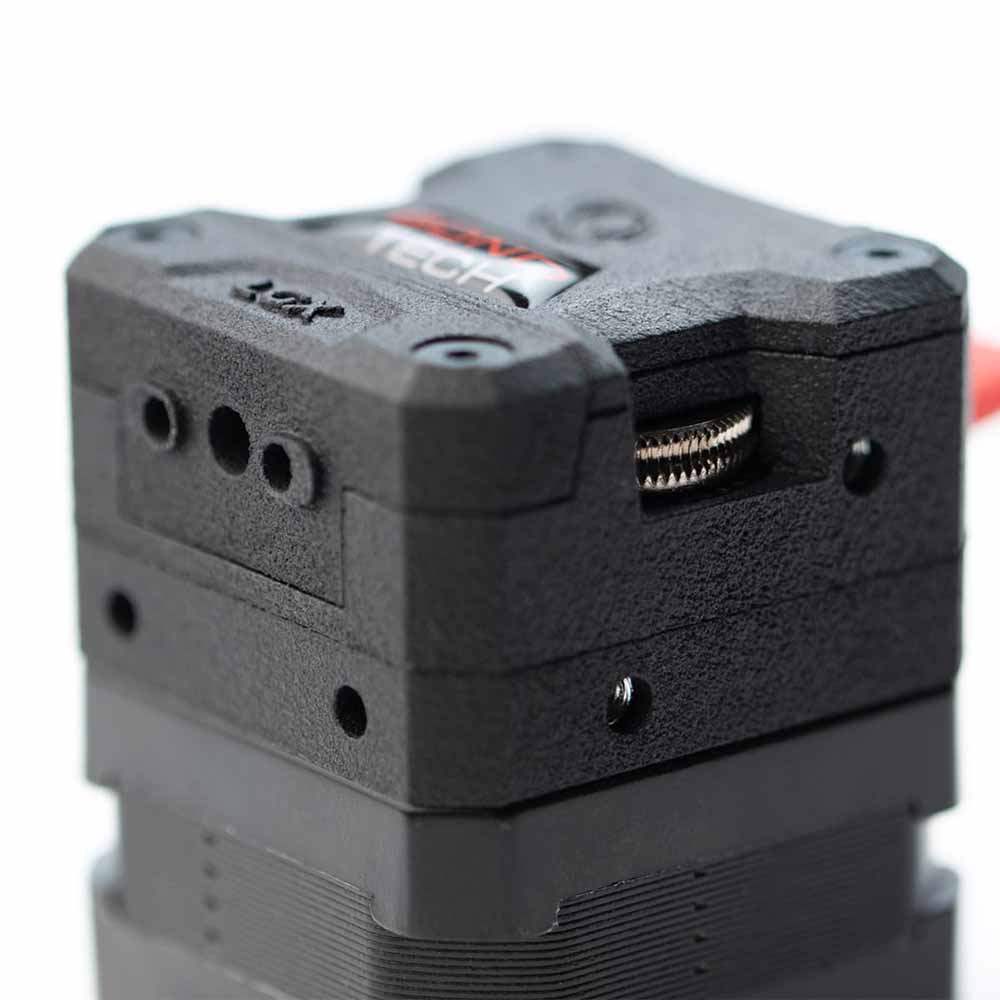
- Mounting patterns : bottom anterior (2 points); left (2 points), right (2 points), front (4 points), back (4 points)
- Holes on the sides of the LGX™ : 5 mm depth
- Holes on the bottom of the LGX™ : 12 mm depth
- Max tightening torque on the extruder screws is 0.3 Nm
For Klipper users
rotation_distance = full_steps_per_rotation * microsteps / steps_per_mmrotation_distance = 200 * 16 / 400
rotation_distance = 8The above calculation assumes the following parameters:
- stepper motor is a 1.8 degrees motor hence 200 as full steps per rotation;
- microsteps are set to 16;
- e-steps value recommended for the LGX is 400.
- PTFE tube lengths:
- Old Mosquito/Mosquito Magnum : 10 mm
- New Mosquito/Mosquito Magnum : 11 mm
- Copperhead screw mount : 30 mm
- PTFE tube should be cut straight on both ends.
- Slight chamfer inside is recommended, but not mandatory.
- retraction speed : 35 mm/s
- retraction distance (bowden) : ~5 mm (0.4 + tube length[mm] x 0.015)
- retraction distance (direct drive) for rigid materials : 0.4 mm
- retraction distance (direct drive) for soft materials : 3 mm
- Max Environment operating temperature : 70°C
- Max stepper motor running temperature : 85°C
- LGX™ DD net weight : 218.6 g
- LGX™ B net weight : 224 g
- Package measurements : 80x103x73 mm
- Package weight : 269 g
- Download the LGX Technical Drawings here.
CUSTOM STEPPER MOTOR FOR BONDTECH LGX™
- PH-06AWJ connector
- 2 phases
- DC 5.5 V
- Max 1.0A/phaseTo use the LGX, run the stepper motor with currents between ~0.45 and ~0.65A:
Be vigilant regarding the stepper motor surface temperature.
Keep it cool enough to touch. Lower Vref otherwise. - Class B motor, rated up to 130°C
- Max recommended environment : 70°C
- Max temperature at this environment temperature can go up to 130°C on account of the self heating.
- Download the stepper motor Technical Data Sheet here.
How to change the Current using Vref
It is very hard to read the current being fed to stepper motors. To determine that current we rely on the Vref value. The Vref value is a voltage reference measured in VDC that can be read using a multimeter. It helps us setting the current output of the stepper motor driver.
Different 3D printer mainboards use different stepper motor drivers. Each type of stepper motor drivers has its own formula to calculate the required Vref to get a specific current. Here are some examples:
- TMC stepper drivers.
The formula for these drivers is Vref = ( I * 2.5 ) / Imax
Where I is the target current value measured in A; and Imax is 1.77 on regular mode and 1.2 on SilentStepSticks mode. - Pololu A4998.
The formula for these drivers is Vref = I * 8 * R
Where I is the target current value measured in A; and R is the Sense Resistor value, that depends on what board are you using. Melzis use 0.1,the Creality Silent boards use 0.15, …

Addressing A Hot Stepper Motor
To use the LGX® or LGX® Lite, run the stepper motor with currents between ~0.45 and ~0.65A.
This current interval is just a recommendation and it should be optimal to keep the stepper motor running with enough torque and low enough surface temperature.
Be vigilant regarding the stepper motor surface temperature.
Keep it cool enough to touch. Lower the current otherwise.
If the stepper motor is cool and loosing steps you need more torque.
In this case increase the current.
To adjust the LGX’s stepper motor current use one of the following methods:
Change the current using Vref on a multimeter
It is very hard to read the current being fed to stepper motors. To determine that current we rely on the Vref value. The Vref value is a voltage reference measured in VDC that can be read using a multimeter. It helps us setting the current output of the stepper motor driver.
Different 3D printer mainboards use different stepper motor drivers. Each type of stepper motor drivers has its own formula to calculate the required Vref to get a specific current.

Lowering current on Ender-6
You can learn how to adjust the Vref by watching the video or by following this guide as example:
Current adjustment on Creality units
Change the current without a multimeter
If your printer doesn’t have DigiPOTs, and in case you don’t have a multimeter to visualize the Vref you may still adjust the current fed to the LGX stepper motor by trial and error.
Use the analog potentiometer (inside yellow ring)next to the extruder’s stepper motor driver (below the heatsink inside the red ring), and turn the potentiometer a few degrees at a time.
Rotate it counter clockwise to lower the current, or clockwise to increase it.
Between each iteration, use the printer and check if the stepper motor is not getting hot neither it is loosing steps.

Lower current if stepper motor is too hot to touch.
Increase current if stepper motor is loosing steps.
Change the current using DigiPOTs
DigiPOTs are digital potentiometers which resistance can be varied by digital communication instead of turning a knob, like seen above.
On a 3D printer with a mainboard carrying DigiPOTs, you may use the user interface of the unit (if that feature is available) or even Gcode commands to set the current of the different stepper motors.
On RepRap units with DigiPOTs, the M906 command may be used to change the Extruder stepper motor current M906 Ennn, where nnn is the amount of milliamps desired.
Marlin also uses a similar command. M906 Ennn sets the current on TMC drivers. On stepper motors with other drivers and DigiPOTs, you may also set the current in milliamps using the command M907 Ennn
Video Guides
CREDITS
Soundtrack is based on 2 Bensound cinematic tunes:
Adventure;
Memories.
Check Bensound at https://www.bensound.com/
IMPORTANT NOTICE:
*************************************************************************************************
There is a miss on this video guide that will be corrected soon. To use the Direct Drive Interface Plugs with Slice Enginering hotends it is recommended to use a PTFE tube between the extruder and the heat break. Info on how to install it will be posted as a new video. Below is some useful additional information:
PFTE tube lengths:
Old Mosquito/Mosquito Magnum : 10 mm
New Mosquito/Mosquito Magnum : 11 mm
Copperhead screw mount : 30 mm
PTFE tube should be cut straight on both ends.
Slight chamfer inside is recommended, but not mandatory.
*************************************************************************************************
Only logged in customers who have purchased this product may leave a review.


Reviews
There are no reviews yet.